How to configure Users & Profiles plugin?
Users and Profiles
With this plugin you can create a login access to your calculator page, in this case you will want to add your users and the different groups/profiles you will want to include at your system.
If you're using the calculators integrated with your own CMS, like Joomla, Wordpress, etc, you will probably prefer to use your CMS users and groups for managing the calculator access, so you can jump to the next step 'Configuring views' instead.
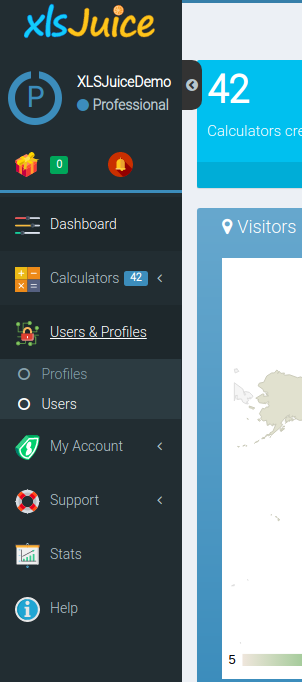
You will find these new options at your main menu, under the User & Profiles entry


Adding login page to your calculator
Once you have your database with users and profiles ready, you can enable one ready-to-publish login page that will show up in order to control access to your calculator. You only need to configure the plugin with the check 'Show a login page for XLSJuice users', and select the profiles that will have access to enter the main calculator page
With this plugin you will be able to configure some sections that you want to hide from this users view, and/or some sections you want to show read-only (they will see the fields, but they won't be able to change the values).

If you choose to add a login page for your users, then the main calculator page will be preceeded by a login form

Configuring views
A 'view' is a version of your calculator that allows a different configuration of the plugins. It will inherit by default the plugin configurations from the main/parent calculator, but you can configure any of the plugins in a different way and this copy will behave with this new configuration instead.
This view don't have a layout configuration, it will use its parent calculator layout and fields configuration, modifying the plugins behavior will give you a high amount of options, like hiding sections for different users groups, send different emails, generate different PDF documents, etc
In order to create a view you only need to click the icon present at each calculator toolbar
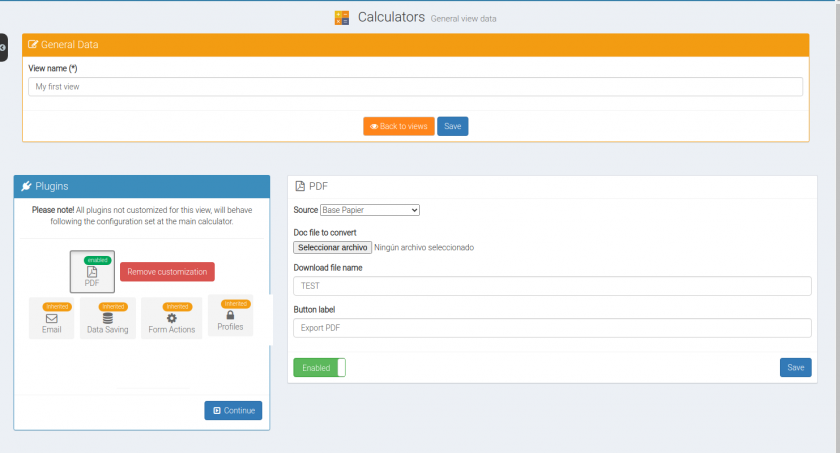
The view configuration page will ask you for a name for your new view, and for the configuration of your plugins. You can use the 'inherited' configuration from your main calculator, enable/disable, or change its internal configuration.

Pressing 'continue' button will forward you to the final calculator page where you can check the specific url created to access this specific view, to share with your users, or insert at your preferred cms or webpage.
